Ensuring that your lawn irrigation system is releasing the right amount of water is essential for keeping your garden healthy and beautiful. If you want to check your sprinkler system’s water output, you can use catch cups to determine if your sprinkler system is working at the optimum level. Here’s a quick guide to DIY sprinkler testing using catch cups:
What is a Catch Cup?
Catch cups are small plastic cups that are staked into the ground and are used to measure the water output from your sprinklers. These cups let you see if your system is working well. The amount of water in each cup is valuable data that can tell you if you are wasting water or if your system is working well. Basically, these cups are important tools that helps you determine how much water you need to keep your lawn green and healthy all year round. These cups are not that expensive either with a single cup costing around $15 and a pack of 12 costing around $40.
How Do You Use a Catch Cup?
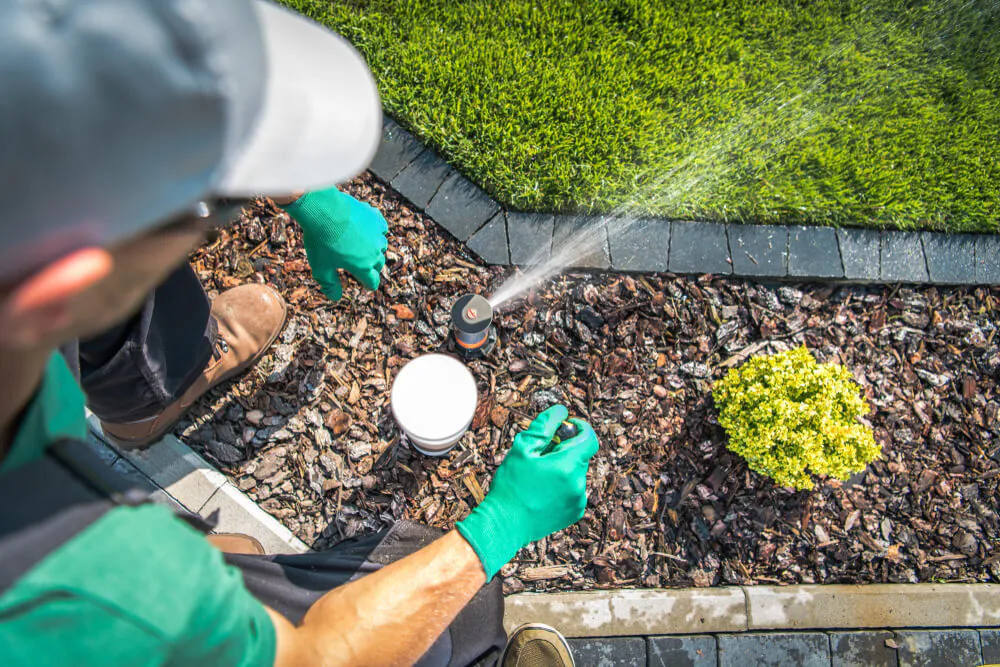
Generally, you use catch cups to measure how well your sprinkler system is working. It’s very easy to DIY a sprinkler test using catch cups! Basically, all you have to do is to set the cups about 2 feet from each sprinkler head and halfway between heads, including the diagonals. Once the cups are in place, run your sprinklers for 5-20 minutes, depending on the kind of sprinklers you have.

Ideally, if your system is working well, your cups should have the same amount of water in them. If you have different amounts in each cup, there might be a problem in your sprinkler system. The most common problems are:
- A blocked sprinkler head
- A broken pipe
- A knocked or misaligned sprinkler head spraying water in the opposite or wrong direction.
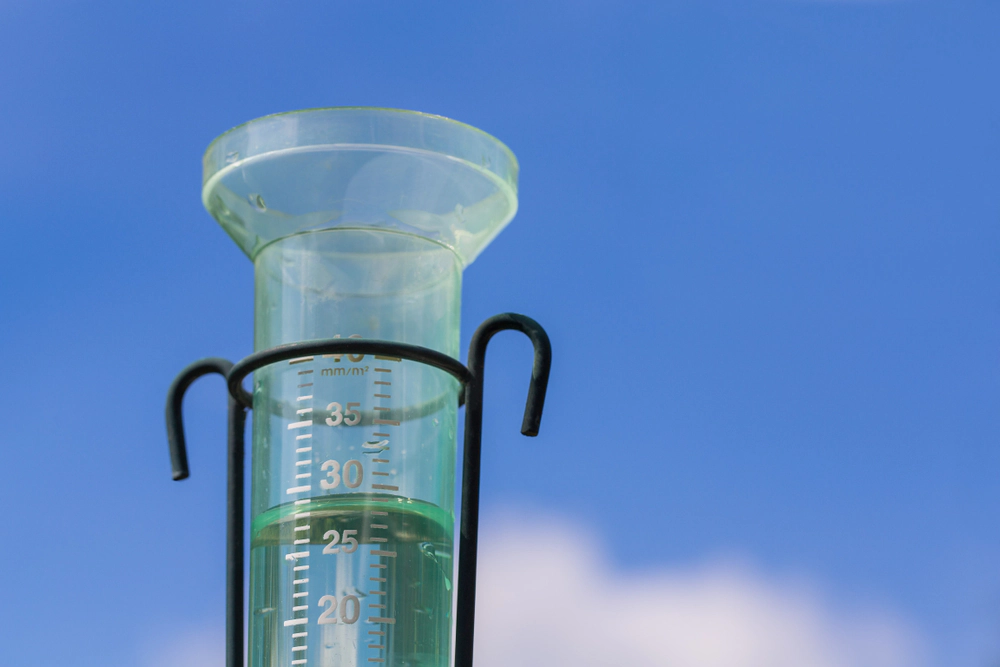
The volume of the water inside the cups will also tell you if you’re watering your lawn enough. Ideally, you should have 10 mL of water in each cup once the rotation is done. If your cups don’t have the minimum of 10 mL, you might need to change the amount of time your sprinklers run or the water pressure your sprinklers apply.
What Should I Remember When I DIY Sprinkler Testing Using Catch Cups?
While you can get a lot of data from your cups, there are some things that you need to remember when you manually test your sprinkler system with catch cups. Here are some of the basic things to remember before proceeding:
Inspect for obvious problems and resolve them first, if possible
Before even going to the sprinkler testing, sometimes you can find obvious problems through a thorough inspection of your lawn. Inspecting for these obvious problems first, such as tree trunks, overgrown grass, or other obstructions, save you a lot of time. If you can, resolve these problems first as they prevent your irrigation system from performing at full capacity. If you find that you have problems that you can’t solve on your own, it might be time to consult professional help as well. We at Green Oasis Lawn and Reticulation can help you with your lawn irrigation and reticulation problems.
Map out your lawn
This step helps you out with positioning your catch cups later on. Locate where all your sprinkler heads are in and make a note of each type and model. When you map out your lawn, it is important that you record the distance between the heads and mark it accordingly on your map. If your lawn has multiple irrigation zones, you should also note which sprinkler heads are a part of each zone.
Keep your cups uniform
Decide whether you will be using catch cans or cups and make sure that each receptacle is of the same build. This ensures that your results will be accurate. For reliability, it is recommended that you use a minimum of 24 cups for your sprinkler audit.
Check the winds
When doing your audit, it is recommended that you do it on a normal day, similar to when normal irrigation takes place. However, take not of the weather that day as it is not recommended that you do your sprinkler test on a windy day. If possible, choose a calm day to do your audit with the winds less than or equal to 5 mph.
Run your audit for a set amount of time
Don’t go overboard with how long you’re turning the sprinklers on. Conduct your sprinkler test around 5-20 minutes, depending on the model of your sprinklers. Remember to turn off the sprinklers once you reach the 10 mL mark for the cups.
What Should You Do After the Sprinkler Test?
So you’re done with the audit and your cups have been put to use. What now?
Now it’s time to interpret the results. This might be a bit technical, but depending on your sprinkler system, this could go by really fast as well. If you’re using a smart sprinkler system, check in if there are apps or programs that could help you with the analysis of your data. If there are none, here’s a quick run through of what you can do after the audit:
Measure the water
Look over the volume of water in the cups. This alone tells you a lot about the efficiency of your system. If it is less than 10 mL, you should check if your system is running long enough or if your sprinklers are able to release the right amount of water.
Calculate, convert, and analyse your data
Aside from the volume, you should also take note of the average nozzle output (which you can get by taking the total output divided by the number of containers). You may also check other factors such as time, area distribution, and the sprinklers themselves to see if you can further maximize your irrigation system. Consult with experts to know more about the specifics of the data you’ve gathered.
A Simple Way to Check Your System
Who would have thought that something as simple and unassuming as catch cups would be able to tell you many things about your lawn? With the data available to you, you should be able to check and tweak your current system. Keeping your lawn green and beautiful all throughout the year has never been this easy!